Dr. Ross is a busy man. He spends hours every Saturday making gougers, pre-gougers, and beautiful music. But not last Saturday! Last Saturday he made me a paperweight!
The paperweight started as an English horn gouger bed. The bed is the part of the gouger that holds the piece of cane when the machine is working. See below:
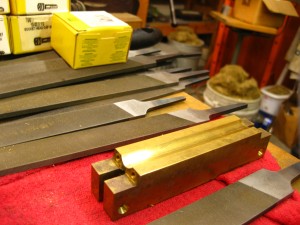
This particular bed was a reject for gouging, but cosmetically perfect in every way. To make a paperweight, we used Dr. Ross’ milling machine to make a slot down the center of the bed to hold my business cards. Like so:
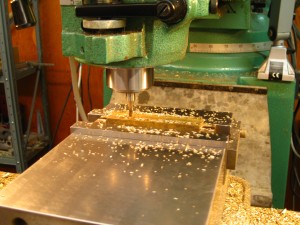
Except not so fast! We had to do a little prep work before the brass started flying. Here’s what it looked like in the beginning.
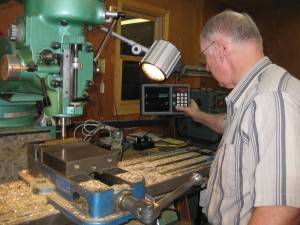
First, Dr. Ross used the measuring device on the milling machine to find the center of the bed. We wanted the slot to be exactly at the midpoint of the bed, and eyeballing it was not an option. The keypad on the right of the milling machine helped Dr. Ross measure the dimensions of the bed and guide the drill exactly to the mathematical halfway point. It also helped him make the slot exactly the correct length. This step was complicated, but not too bad if you understand X-Y planes and have done a lot of calculus recently. (Thanks, MBA!) After he set up the measurements, Dr. Ross used the steering wheels on the machine to move the bed back and forth beneath the stationary bit.
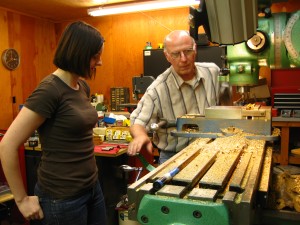
One steering wheel on the machine moved the table left and right along the X-axis. Another steering wheel on the machine moved the table up and down along the Y-axis. Meanwhile, the screen to the right of the machine (visible two pictures above) told Dr. Ross how far along each axis he traveled. Nothing in the milling process is approximate. Every measurement is accurate to the thousandth of an inch. (I think it’s to the thousandth– it’s hard to understand the notes I took, so please correct me if I’m wrong.)
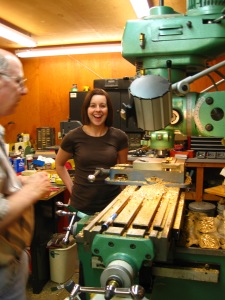
Obviously, I enjoyed this process. There’s more too it than just moving the bed side to side along the drill bit, though. We still needed to make both in-sides of the slot smooth.
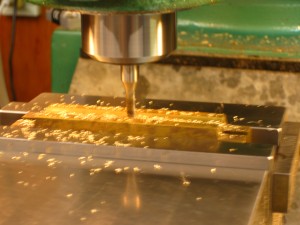
Whether you’re milling a gouger or a paperweight, when the bit touches both in-sides of the slot at the same time, it creates a smooth side and a rough side. In order to make both in-sides of the slot smooth, we had to move the bed so that only one side of the slot touched the bit at a time, and so that the bed moved in the same direction that the bit was spinning.
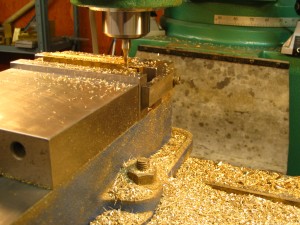
This was complicated, and my MBA classes did not help me understand it as well as I would like. Jenn, if you remember how this worked better than I, please comment!
The next step in the process was less complex.
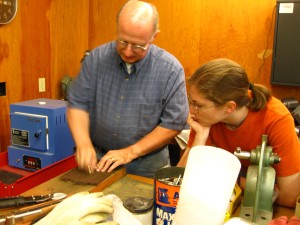
Dr. Ross took the gouger bed-cum-cardholder to the polishing department. (The polishing department is a brillo pad in the corner of his workshop.) The polishing department made the brass shiny and clean.
The final step in the process was to personalize my new, mathematically perfect, one-of-a-kind business card holder! Have you ever wondered how Dr. Ross puts the serial number on your gouger? Pay attention!
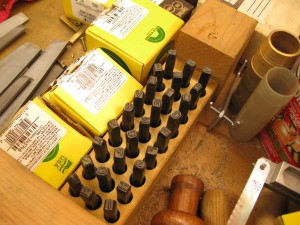
This is a set of metal stamps. There is one stamp for each letter of the alphabet and one stamp for each number 0-8. (There is no number 9 since you can just turn the 6 upside down.) I wanted to stamp my initials, “KLH” onto my business card holder. To do this, I used a tiny hammer to stamp each letter onto the metal. Ready, aim, aim, aim
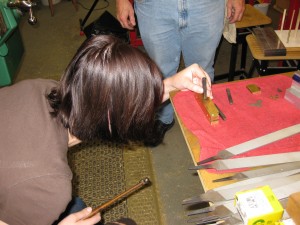
aim some more! It was more difficult than I imagined to get the letters in the correct position and in a straight line. Plus, brass is a hard metal, so you’ve got to really mean it when you strike the stamp. After several attempts at stamping and some help from Jen and Dr. Ross, my business card holder was finished!!
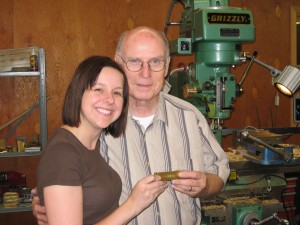
Here’s a close up of the cardholder in action:
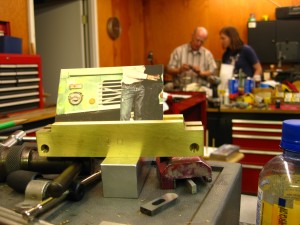
If you look closely, you can see the KLH stamped on the front. The “L” is the most visible because Dr. Ross stamped that one for me. Congratulations if you made it all the way through this mammoth post! That means you’re probably an even bigger oboe nerd than I am!
