Today my mom’s going to teach us to make bacon wrapped dates! This recipe makes a dinner portion for four very naughty football fans, but it could feed eight to twelve guests at a cocktail party if it were paired with other hors d’ouevres and booze.
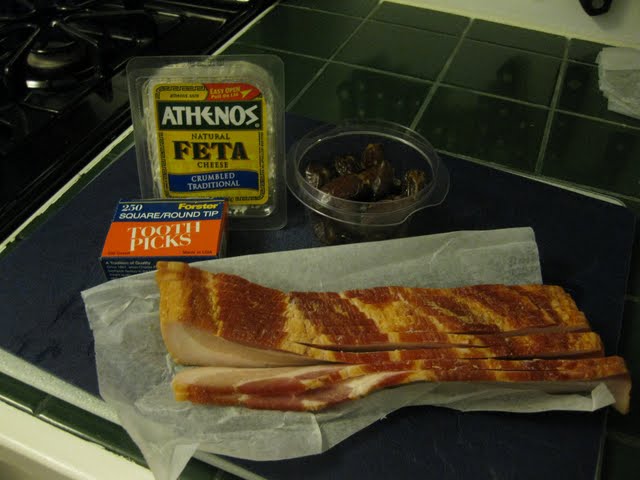
First, gather the ingredients you need:
- 24 pitted dried dates, medjool if you’re feeling fancy
- 12 slices of bacon, applewood smoked if you’re feeling fancy
- stinky cheese crumbles. We used feta, but bleu cheese is good, too
- toothpicks. Don’t use cheap, splintery ones!
- salt & pepper
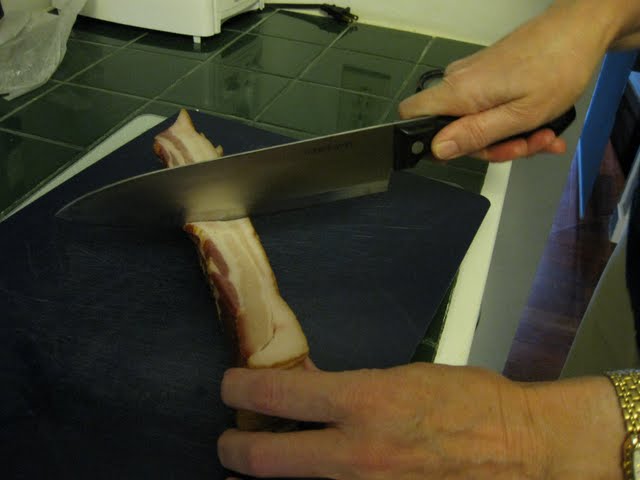
Next, use a knife to cut your bacon slices in half. If you’re on a budget, you can get more bang for your buck by slicing the bacon slices in thirds and increasing the number of dates accordingly. We were feeling indulgent, so halves it is.
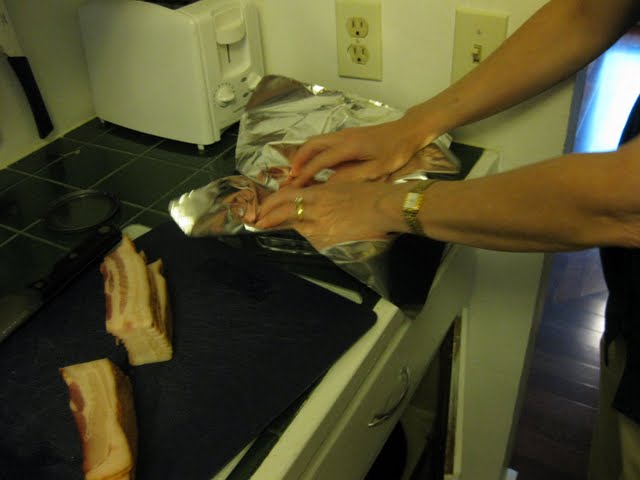
After this, preheat your oven to 400 degrees and line a cookie sheet with aluminum foil. Mom couldn’t find a cookie sheet with sides in this kitchen, so she chose to use a pyrex casserole instead. I wasn’t going to argue with her, she’s my momma.
Once your bacon’s cut, your oven’s hot, and you’re pan’s foiled, you’re ready to stuff the dates with cheese and wrap them up in the bacon. They’re like little, delicious gifts, when you finish with this step.
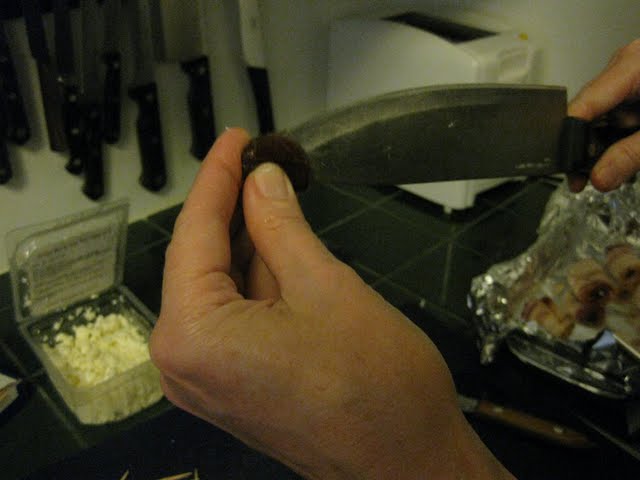
Since your dates are pitted, there’s already a convenient little hole where you should stuff the cheese. Just make a slit in the date with the knife, smush in a stinky cheese crumble or two, and close up the slit.
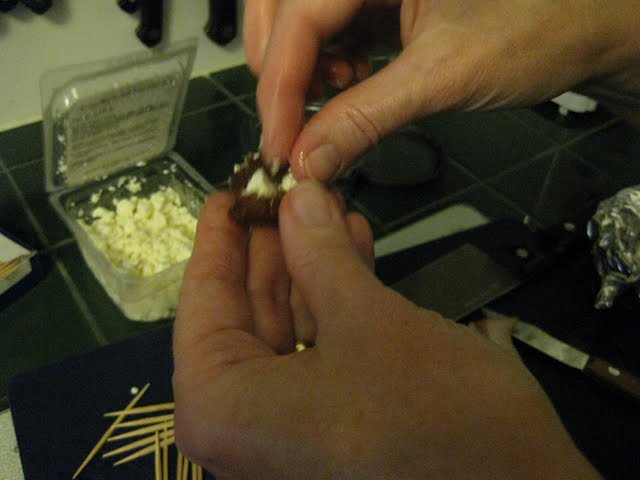
Dried dates are pretty soft and sticky, so you’ll be able to smooth the slit shut with your fingers. It’s like mother nature wants us to stuff stinky cheese in our dates.
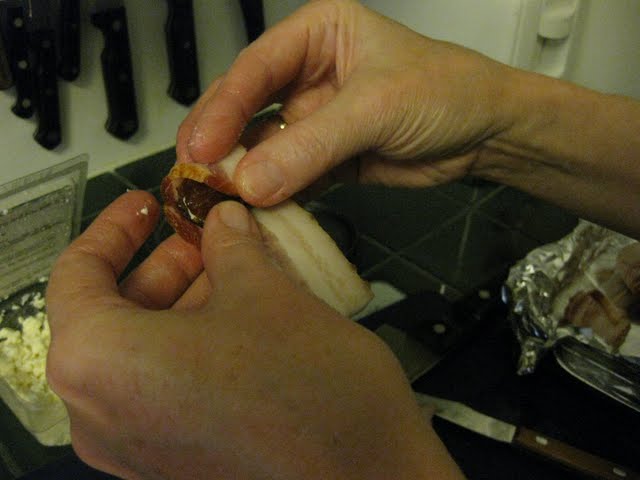
Now for the fun part. Grab yer stuffed date and yer bacon slice, then wrap yer bacon around yer date.
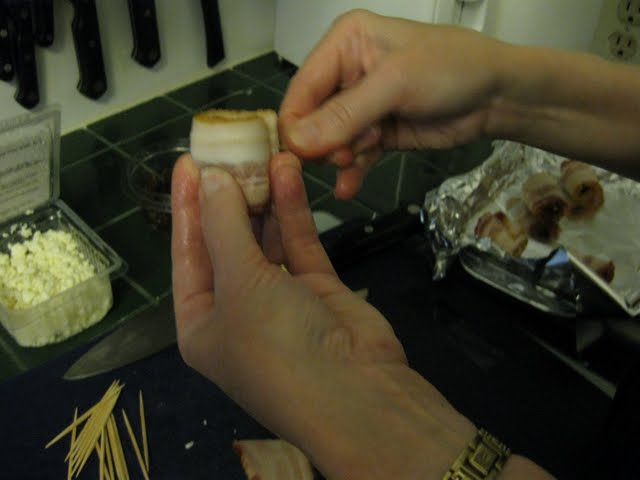
Then you stick yer toothpick through the whole thing. Make life easy by pushing the toothpick completely through the bacon wrapped date but no further. That way there will be one long toothpick end attached to the date, which you can use as a convenient handle to place the date in your foiled pan.
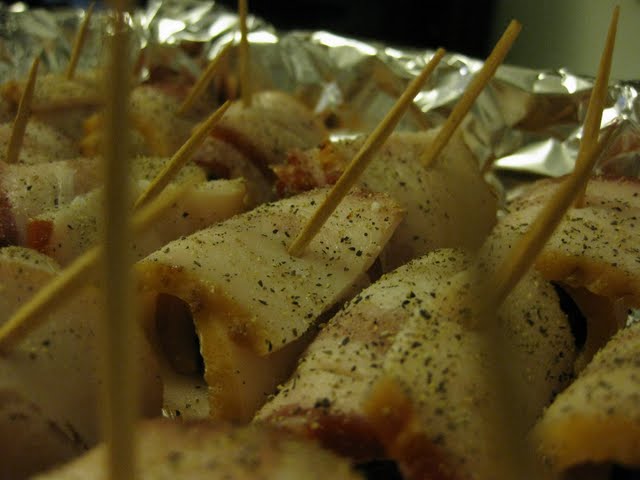
Once all your dates are stuffed, wrapped, and speared, you should arrange them so they are evenly distributed throughout the pan. Ideally, none of them will touch too much. Finally, sprinkle the dates liberally with salt and pepper. You won’t regret it.
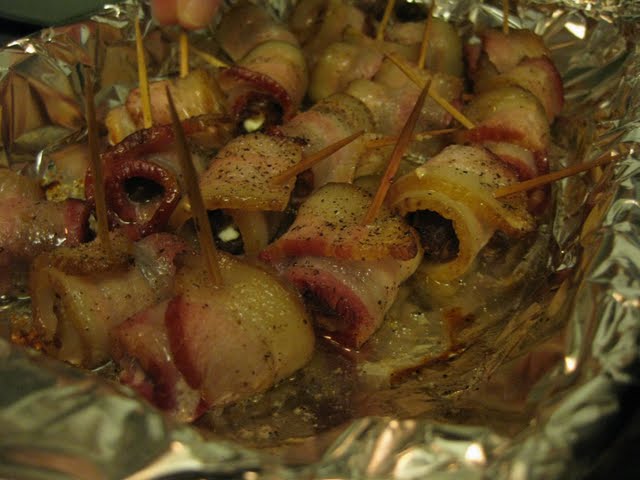
Now it’s time to bake the dates. Put them in your preheated oven and bake for 30-40 minutes, or until the bacon has browned and appears crispy. Whatever you do, don’t neglect your dates! Keep an eye on ’em and turn them every 15 minutes or so.
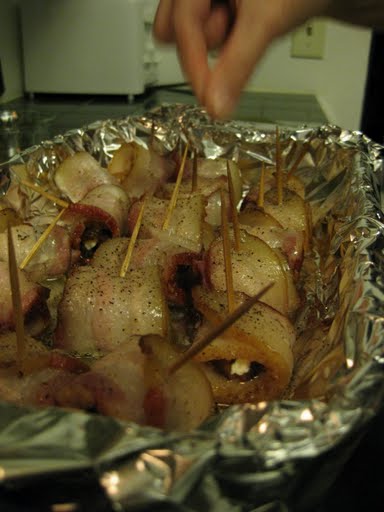
To turn the dates, take the pan out of the oven and use the toothpicks to rearrange them and rotate them in the pan. It’s easier to do this if the toothpick handle is long, as Mom instructed earlier in the recipe. Heads up: These dates burn easily if forget to turn them or leave them in the oven too long. Don’t do that! If you used thin cut bacon or 1/3 slices, your dates might be cooked sooner than 30 minutes. Thick cut bacon takes longer.
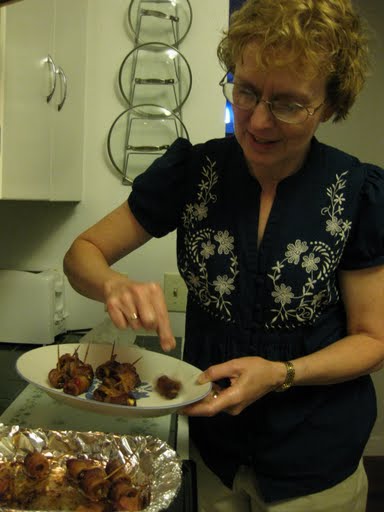
Once the bacon’s brown and crispy looking, plate your dates. Mom recommends letting them cool in the pan for about 10 minutes before taking this final step. Enjoy!
